Easy Homemade Fruit Leather Recipe- Delicious & Healthy Snack
Homemade fruit leather is a delightful treat that instantly transports me back to childhood summers, bursting with sunshine and sweet, concentrated flavors. It’s a snack that’s both fun to make and incredibly rewarding to eat, offering a burst of pure fruit goodness without any of the artificial stuff you often find in store-bought versions. What makes this homemade fruit leather recipe so special is its simplicity and versatility. You can use almost any fruit you have on hand, turning leftover berries, bruised peaches, or a surplus of apples into a healthy and delicious snack. The process itself is a wonderful way to connect with your food, and the vibrant colors and chewy texture are simply irresistible, making it a perfect activity for kids and adults alike.
Why You’ll Love This Recipe:
It’s a healthy, customizable, and fun way to enjoy fruit!
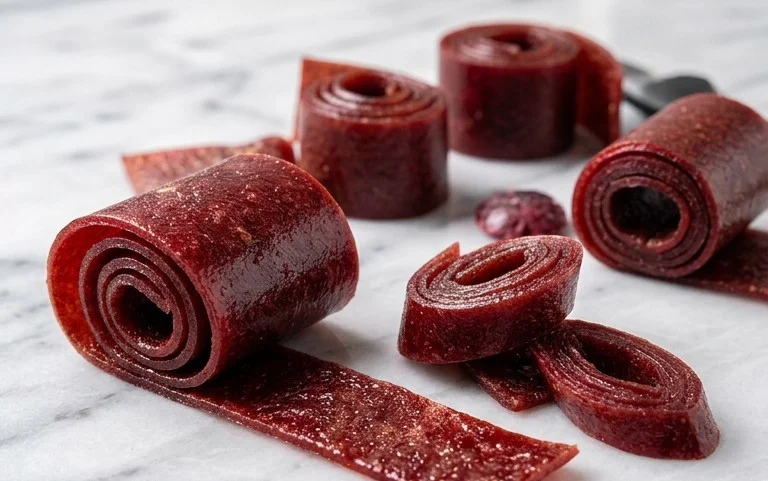
Homemade Fruit Leather Recipe
There’s something undeniably satisfying about making your own snacks from scratch. And when it comes to healthy, delicious, and fun treats, homemade fruit leather reigns supreme! Forget those store-bought versions packed with artificial flavors and excessive sugar. This recipe is incredibly simple, customizable, and results in vibrant, chewy strips of pure fruit goodness that kids and adults alike will adore. Imagin extracte the burst of natural sweetness and tang, a perfectly portable snack for lunchboxes, hikes, or just a guilt-free treat. I love this recipe because it’s so forgiving and allows you to use whatever seasonal fruits you have on hand. It’s a fantastic way to reduce food waste and introduce natural sweetness into your family’s diet.
Ingredients:
Equipment You’ll Need:
Instructions:
This is where the magic happens! It’s a straightforward process that requires minimal active time, mostly just waiting for the fruit to transform.
1. Prepare Your Fruit: Start by washing your chosen fruits thoroughly. For fruits like strawberries or peaches, remove any stems or pits. Apples and pears will also need their cores removed. Chop the fruit into roughly equal-sized pieces. This helps ensure they cook and blend evenly. If you’re using frozen fruit, you can thaw it slightly before proceeding, though it’s not strictly necessary as the oven will do the work. The beauty of fruit leather is its versatility; feel free to mix and match! A classic strawberry-raspberry blend is always a hit, or perhaps a tropical mango-peach concoction.
2. Blend into a Purée: Transfer your chopped fruit to a blender or food processor. Add the 3 tablespoons of white sugar and the juice of half a lemon. The sugar helps with sweetness and preservation, while the lemon juice adds a touch of brightness and acidity that balances the sweetness beautifully, and also helps prevent browning in some fruits like apples and pears. Blend everything until it forms a smooth purée. You want a consistency similar to applesauce, with no large chunks of fruit remaining. If your fruit is particularly fibrous, you might need to blend for a bit longer. If the mixture seems too thick, you can add a tablespoon of water at a time, but be careful not to make it too watery, as this will increase the drying time.
3. Spread the Purée: Line a baking sheet with parchment paper or a silicone baking mat. This is crucial for preventing your fruit leather from sticking. Pour the fruit purée onto the prepared baking sheet. Using a spatula, spread the purée as thinly and evenly as possible. Aim for a thickness of about ¼ inch. The thinner you spread it, the quicker and more evenly it will dry. Try to get it all to the same thickness to avoid pockets of under-dried or over-dried leather. You can gently spread it all the way to the edges of the parchment paper, as it won’t spread much further during baking.
4. Bake and Dry: Preheat your oven to its lowest setting, typically around 170-200°F (75-95°C). Place the baking sheet in the preheated oven. Allow the fruit leather to bake for a significant amount of time, usually 3 to 5 hours, or even longer depending on the thickness of your purée and the moisture content of your fruit. The goal is for the purée to become dry and leathery, not crispy. You’ll know it’s ready when the surface is no longer sticky to the touch and the edges appear somewhat dry. You can even gently lift a corner to check if it peels away from the parchment paper easily. Resist the urge to crank up the oven temperature; a low and slow approach is key to achieving the right texture and preventing burning.
5. Cool and Cut: Once your fruit leather has reached the desired leathery consistency, carefully remove the baking sheet from the oven. Let it cool completely on the baking sheet. As it cools, it will firm up further. Once cool, you can either peel the entire sheet off the parchment paper and cut it into strips using a pizza cutter or kitchen scissors, or if you want to be extra fancy, you can roll it up into a log before cutting. Some people even like to cut out fun shapes with cookie cutters. Store your delicious homemade fruit leather in an airtight container at room temperature for up to a week, or in the refrigerator for longer storage. Enjoy your healthy, homemade creation!
Conclusion:
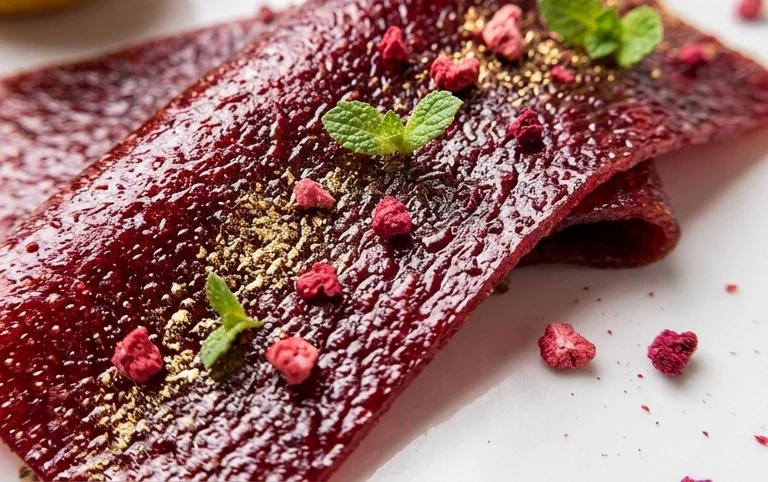
Crafting your own homemade fruit leather is such a rewarding experience! It’s a fantastic way to preserve seasonal fruits, reduce food waste, and create a healthy, delicious snack that everyone will love. The satisfaction of pulling perfectly pliable, vibrant fruit leather from your oven or dehydrator is truly unmatched. Plus, you have complete control over the ingredients, ensuring no artificial additives or excessive sugars. This recipe is wonderfully versatile, making it a staple in my kitchen.
Once your fruit leather is cooled and ready, slice it into strips or fun shapes for a delightful treat. It’s perfect for lunchboxes, after-school snacks, or even a guilt-free dessert. For serving, consider pairing it with yogurt for a sweet and tangy contrast, or crum extractbling it over ice cream. Don’t be afraid to get creative with your fruit combinations! Think apple-cinnamon, berry-banana, or even a tropical mango-pineapple blend. Experimenting with different fruits is half the fun of making this homemade fruit leather.
I wholeheartedly encourage you to give this recipe a try. It’s simpler than you might think, and the results are incredibly satisfying. Get your family involved in the process – kids especially love cutting out the shapes!
FAQs:
How long does homemade fruit leather last?
Stored properly in an airtight container at room temperature, your homemade fruit leather can last for several weeks, up to a month. For longer storage, you can refrigerate it, which might extend its shelf life even further.
Can I make fruit leather without a dehydrator?
Absolutely! While a dehydrator is ideal, you can also use a conventional oven set to its lowest temperature (around 170°F or 75°C) with the oven door slightly ajar to allow moisture to escape. Baking time will vary depending on your oven.
What are the best fruits for making fruit leather?
Almost any fruit can be used! Berries, apples, peaches, plums, apricots, mangoes, and even pureed bananas work wonderfully. Combining sweeter fruits with slightly tart ones can create a more complex flavor profile.
Homemade Fruit Leather Recipe
A simple and delicious way to preserve fresh fruit into a chewy, sweet treat.
Ingredients
-
2 cups fruit, chopped
-
3 tbsp white sugar
-
½ whole lemon, just the juice
-
1 cup unsweetened applesauce
-
1 tsp vanilla extract
-
Pinch of cinnamon
Instructions
-
Step 1
Preheat oven to the lowest possible setting, around 170°F (77°C). -
Step 2
Combine chopped fruit, white sugar, lemon juice, unsweetened applesauce, vanilla extract, and cinnamon in a blender or food processor. Blend until completely smooth. -
Step 3
Line a baking sheet with parchment paper or a silicone baking mat. Pour the fruit mixture onto the prepared baking sheet and spread it evenly into a thin layer (about 1/8 inch thick). -
Step 4
Bake for 4-6 hours, or until the fruit leather is no longer sticky and peels easily from the parchment paper. The baking time will vary depending on your oven and the thickness of the fruit leather. -
Step 5
Once cooled, carefully peel the fruit leather from the parchment paper. Cut into strips or desired shapes. -
Step 6
Roll up the fruit leather strips or store the sheets in an airtight container at room temperature or in the refrigerator.
Important Information
Nutrition Facts (Per Serving)
It is important to consider this information as approximate and not to use it as definitive health advice.
Allergy Information
Please check ingredients for potential allergens and consult a health professional if in doubt.