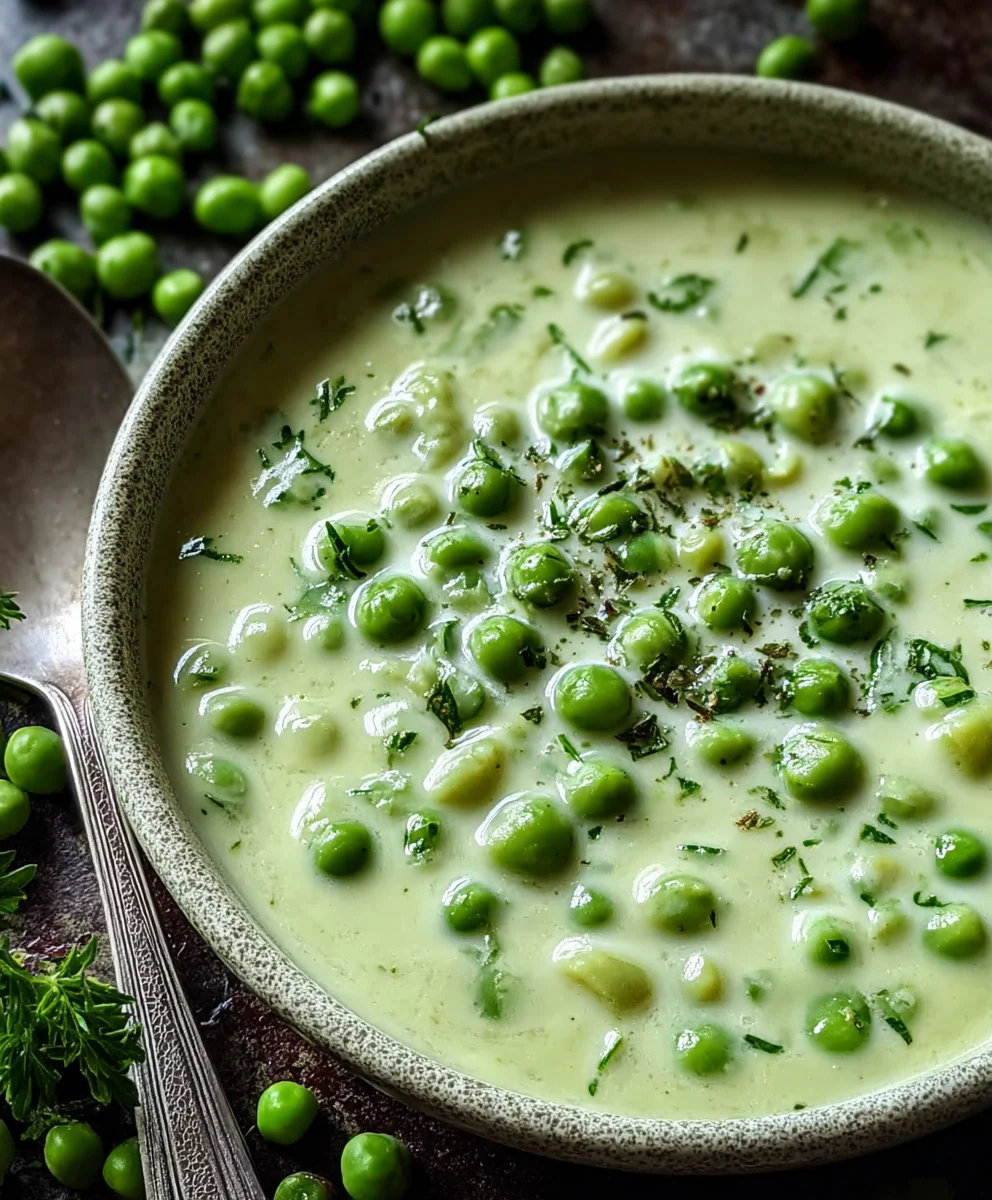
Easy Creamed Peas Recipe- Simple Side Dish
Creamed Peas are more than just a side dish; they’re a nostalgic hug on a plate, a comforting whisper from childhood kitchens, and a testament to how simple ingredients can create pure magic. There’s a reason this classic continues to win hearts generation after generation. It’s the velvety smooth sauce, the tender bite of the peas, and that subtle hint of richness that just makes everything feel a little more special. Forget those bland, uninspired versions you might have encountered; today, we’re elevating this beloved dish to new heights. We’ll explore the secrets to achieving that perfect creamy texture without it feeling heavy, and uncover the subtle flavor enhancements that will make your homemade Creamed Peas the star of any meal. Get ready to fall in love with this timeless favorite all over again.
Ingredients:
- 1 package (10 ounces) frozen peas
- 1 tablespoon butter
- 1 tablespoon all-purpose flour
- 1/4 teaspoon salt
- 1/8 teaspoon pepper
- 1/2 cup whole milk
- 1 teaspoon sugar
Cooking the Creamed Peas
Let’s dive into making some wonderfully creamy and delicious creamed peas. This recipe is incredibly straightforward, making it a perfect side dish for any meal, whether it’s a weeknight dinner or a special occasion. The beauty of this dish lies in its simplicity and the way it elevates humble frozen peas into something truly special. We’ll transform those little green spheres into a velvety, flavorful delight with just a few pantry staples.
Step 1: Prepare the Peas
The first step is to get our frozen peas ready. You’ll want to cook them until they are tender but not mushy. The easiest way to do this is to bring a small pot of water to a boil, add your frozen peas, and cook them for about 3 to 5 minutes. You’re looking for them to be bright green and just heated through. Once cooked, drain them thoroughly. It’s important to drain them well to avoid any excess water diluting our creamy sauce later on. You can even give the colander a gentle shake to remove as much moisture as possible.
Step 2: Create the Roux
Now, we’ll start building the base of our creamy sauce. In the same pot you used to cook the peas (or a separate saucepan if you prefer), melt the 1 tablespoon of butter over medium heat. Once the butter is completely melted and starts to lightly foam, sprinkle in the 1 tablespoon of all-purpose flour. Whisk the flour into the butter constantly. This mixture is called a roux, and it’s the key to thickening our sauce. You’ll want to cook this roux for about 1 to 2 minutes, stirring all the while. This process cooks out the raw flour taste and creates a smooth, nutty aroma. You’re looking for the roux to be a pnon-alcoholic ale golden color; don’t let it brown too much, as that can impart a darker color and different flavor to your creamed peas.
Step 3: Incorporate the Milk
With our roux ready, it’s time to add the liquid. Slowly pour in the 1/2 cup of whole milk, whisking continuously as you pour. Adding the milk gradually and whisking helps to prevent lumps from forming, ensuring a silky smooth sauce. Keep whisking until all the milk is incorporated and the mixture begin extracts to thicken. As the sauce heats up, it will become noticeably thicker. Continue to cook and stir over medium heat until the sauce coats the back of a spoon. This usually takes a few more minutes. If the sauce becomes too thick for your liking, you can always add a splash more milk to reach your desired consistency.
Step 4: Season and Sweeten
Now for the flavor! Add the 1/4 teaspoon of salt and 1/8 teaspoon of pepper to the sauce. Stir them in thoroughly. This is where we balance the flavors. The salt will enhance the natural sweetness of the peas, and the pepper adds a subtle hint of warmth. Next, stir in the 1 teaspoon of sugar. Don’t be shy about adding a touch of sugar to creamed peas; it doesn’t make them taste like dessert, but rather it beautifully complements the natural sweetness of the peas themselves, rounding out the overall flavor profile and making them taste even more vibrant. Stir until the sugar is completely dissolved. Taste the sauce at this point and adjust the salt, pepper, or sugar if you feel it needs it. This is your chance to personalize the flavor to your exact preference.
Step 5: Combine and Serve
Finally, it’s time to bring it all together. Add the drained peas back into the pot with the creamy sauce. Gently stir the peas into the sauce, ensuring each pea is coated in the luscious mixture. Continue to cook over low heat for another 1 to 2 minutes, just until the peas are heated through and the saucegin extract clinging to them beautifully. Be careful not to overcook them at this stage, as we want to maintain their vibrant color and slightly firm texture. Once everything is combined and heated, your creamed peas are ready to be served. Spoon them into a serving dish and enjoy immediately. This dish is best served warm, allowing the creamy sauce to shine.
Conclusion:
And there you have it – a truly delightful bowl of Creamed Peas that’s both comforting and surprisingly elegant! We’ve explored how a few simple ingredients can transform humble peas into a rich, velvety side dish perfect for any occasion. Whether you’re looking for a classic accompaniment to your Sunday roast or a quick and satisfying way to elevate weeknight meals, this Creamed Peas recipe is sure to become a staple in your culinary repertoire. Don’t be afraid to experiment with the serving suggestions – a sprinkle of fresh chives or a dash of nutmeg can add an extra layer of flavor. I encourage you to try this recipe and discover the simple joy of perfectly prepared Creamed Peas. Happy cooking!
Frequently Asked Questions:
What can I serve with Creamed Peas?
Creamed Peas are incredibly versatile! They pair beautifully with roasted meats like chicken, beef, or beef. They also make a fantastic side for fish, steak, or even a simple grilled cheese sandwich. For a vegetarian meal, try them alongside roasted vegetables or a hearty grain dish.
Can I make Creamed Peas ahead of time?
Yes, you can prepare Creamed Peas a few hours in advance. Gently reheat them over low heat, stirring frequently, and add a splash of milk or cream if they become too thick. Avoid boiling them once they’ve been made.
Are there any other variations for Creamed Peas?
Absolutely! For a touch of sweetness, you can add a tablespoon of honey or maple syrup. If you enjoy a bit of heat, a pinch of red pepper flakes or a dash of hot sauce can be a delightful addition. You can also stir in some cooked crum extractbled beef bacon for a savory twist.
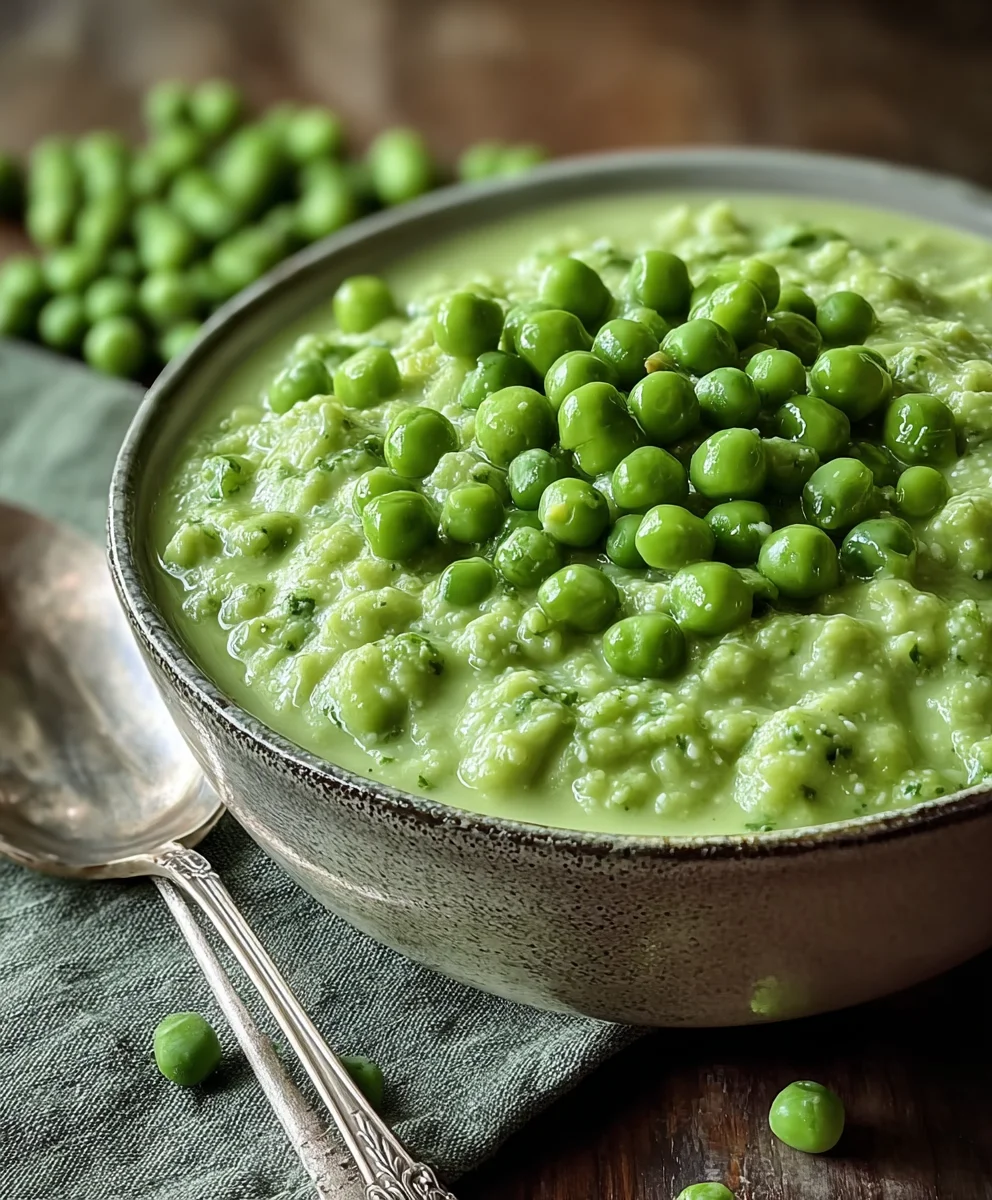
Easy Creamed Peas Recipe
A simple and delicious side dish that transforms humble frozen peas into a velvety, flavorful delight with just a few pantry staples.
Ingredients
-
1 package (10 ounces) frozen peas
-
1 tablespoon butter
-
1 tablespoon all-purpose flour
-
1/4 teaspoon salt
-
1/8 teaspoon pepper
-
1/2 cup whole milk
-
1 teaspoon sugar
Instructions
-
Step 1
Cook frozen peas in boiling water for 3-5 minutes until tender but not mushy. Drain thoroughly. -
Step 2
Melt butter in the same pot over medium heat. Whisk in flour and cook for 1-2 minutes until lightly golden to create a roux. -
Step 3
Slowly pour in milk while whisking continuously until the sauce thickens and coats the back of a spoon. -
Step 4
Stir in salt, pepper, and sugar. Taste and adjust seasonings as needed. -
Step 5
Add drained peas back to the pot. Stir to coat with sauce and heat through for 1-2 minutes over low heat.
Important Information
Nutrition Facts (Per Serving)
It is important to consider this information as approximate and not to use it as definitive health advice.
Allergy Information
Please check ingredients for potential allergens and consult a health professional if in doubt.