Crispy Chewy Chocolate Chip Cookies- Perfect Batch
Crispy and chewy chocolate chip cookies are more than just a dessert; they are a gateway to pure, unadulterated happiness. Who among us hasn’t experienced that soul-soothing moment of biting into a perfectly baked cookie, where the edges offer a delightful crunch, yielding to a wonderfully soft and chewy center? It’s a textural symphony that captivates the senses. This isn’t just any chocolate chip cookie recipe; this is the one that will have friends and family beggin extractg for the secret. We’re talking about that ideal balance – the slight crispness that gives way to a rich, melt-in-your-mouth chegrape juicess, studded with pockets of decadent, gooey chocolate. Prepare to elevate your cookie game and discover what truly makes crispy and chewy chocolate chip cookies a timeless classic.
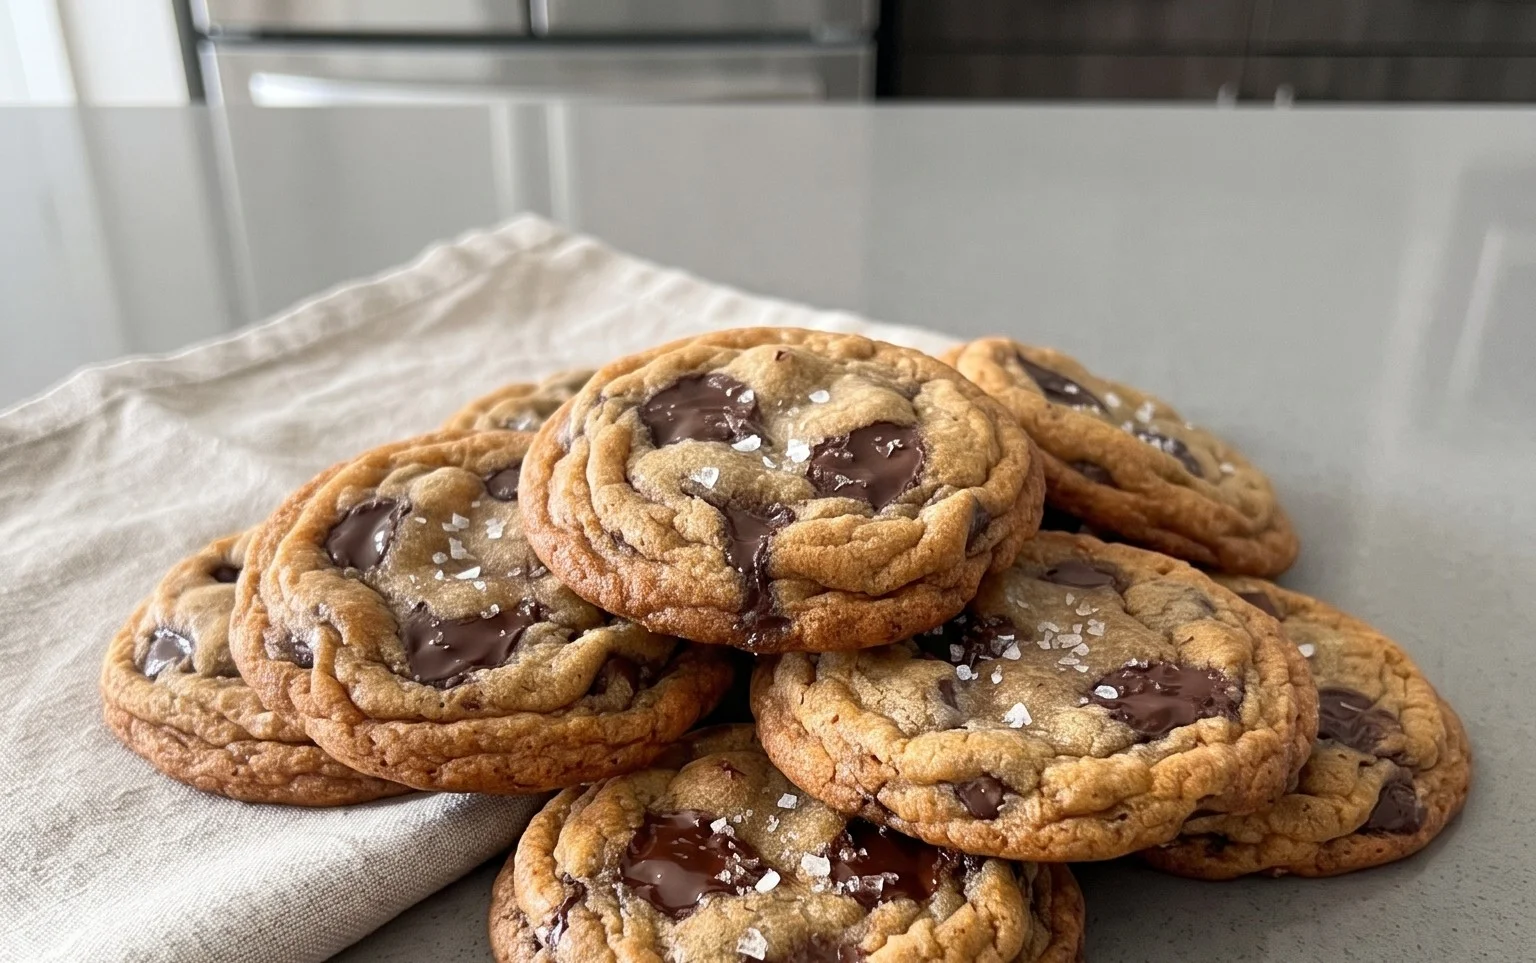
Crispy and Chewy Chocolate Chip Cookies
There’s something undeniably comforting about a perfectly baked chocolate chip cookie. Not too cakey, not too brittle, but that magical balance of crispy edges and a delightfully chewy center, studded with pools of melted chocolate. I’ve spent years perfecting this recipe, tweaking ingredient ratios and baking times until I landed on what I believe is the ultimate chocolate chip cookie. These are the cookies that disappear first at any gathering, the ones you crave with a cold glass of milk, and the ones that will make you a baking hero. Let’s get started!
Ingredients:
Preparing the Dough
The journey to perfect cookies begin extracts with the proper preparation of your ingredients and the creaming of your butter and sugars. It’s crucial to have your butter softened but not melted. You want it to yield to gentle pressure, like it’s almost spreadable. This ensures it will properly emulsify with the sugars, creating that light and airy base that contributes to the chewy texture.
1. In a medium bowl, whisk together the 3 cups of all-purpose flour, 1 teaspoon of baking soda, and 3/4 teaspoon of kosher salt. Whisking these dry ingredients together ensures that the leavening agent (baking soda) and salt are evenly distributed throughout the flour, preventing any pockets of saltiness or uneven rise in your cookies. Set this bowl aside.
2. In a large mixing bowl, or the bowl of your stand mixer fitted with the paddle attachment, cream together the 2 sticks (1 cup or 16 tablespoons) of softened unsalted butter with the 1 cup of light brown sugar and 1 cup of granulated sugar. Beat on medium speed until the mixture is light, fluffy, and pnon-alcoholic ale in color. This process, known as creaming, incorporates air into the dough, which is essential for both texture and rise. Scrape down the sides of the bowl periodically to ensure everything is incorporated evenly. This step usually takes about 3-5 minutes.
3. Add the 2 large eggs, one at a time, beating well after each addition until fully incorporated. Once the eggs are in, add the 2 teaspoons of pure vanilla extract. Vanilla extract is more than just flavor; it can enhance the sweetness and add a depth of aroma to your cookies. Beat until just combined. The mixture may look slightly curdled at this point, and that’s perfectly normal.
Combining and Chilling
Now comes the crucial step of bringin extractg all the elements together. This is where the magic starts to happen, and a little patience goes a long way.
4. Gradually add the dry ingredient mixture to the wet ingredients in three additions, mixing on low speed until just combined after each addition. Be careful not to overmix at this stage. Overmixing can develop the gluten in the flour too much, leading to tough cookies. You should still see a few streaks of flour when you stop mixing. Gently fold in the 2 1/2 cups of semisweet chocolate chips. For an extra burst of chocolatey goodness and a more appealing appearance, I sometimes reserve about 1/4 cup of the chips and press them onto the tops of the cookies just before baking.
5. This is perhaps the most important step for achieving that perfect chewy interior and crispy exterior: chill the dough. Cover the bowl tightly with plastic wrap and refrigerate for at least 2 hours, or ideally overnight. Chilling the dough allows the fats to solidify, which helps the cookies spread less in the oven, resulting in a thicker, chewier cookie. It also allows the flavors to meld and deepen, giving your cookies a more complex taste. The dough will be quite firm when you take it out of the refrigerator, which is exactly what you want.
Baking to Perfection
The final stage is where your patience pays off, and the aroma of freshly baked cookies fills your kitchen. Pay close attention to baking times, as ovens can vary.
Baking the Cookies
Preheat your oven to 375 degrees Fahrenheit (190 degrees Celsius). Line baking sheets with parchment paper to prevent sticking and ensure even browning.
6. Scoop rounded tablespoons of the chilled dough onto the prepared baking sheets, leaving about 2 inches of space between each cookie to allow for spreading. If you desire, now is the time to gently press a few extra chocolate chips onto the tops of the dough balls for that bakery-style look. For an optional but highly recommended finishing touch, sprinkle a tiny pinch of the 1 teaspoon of flaked sea salt over the tops of the dough balls just before they go into the oven. The contrast of the sweet cookie and the subtle saltiness is truly sublime.
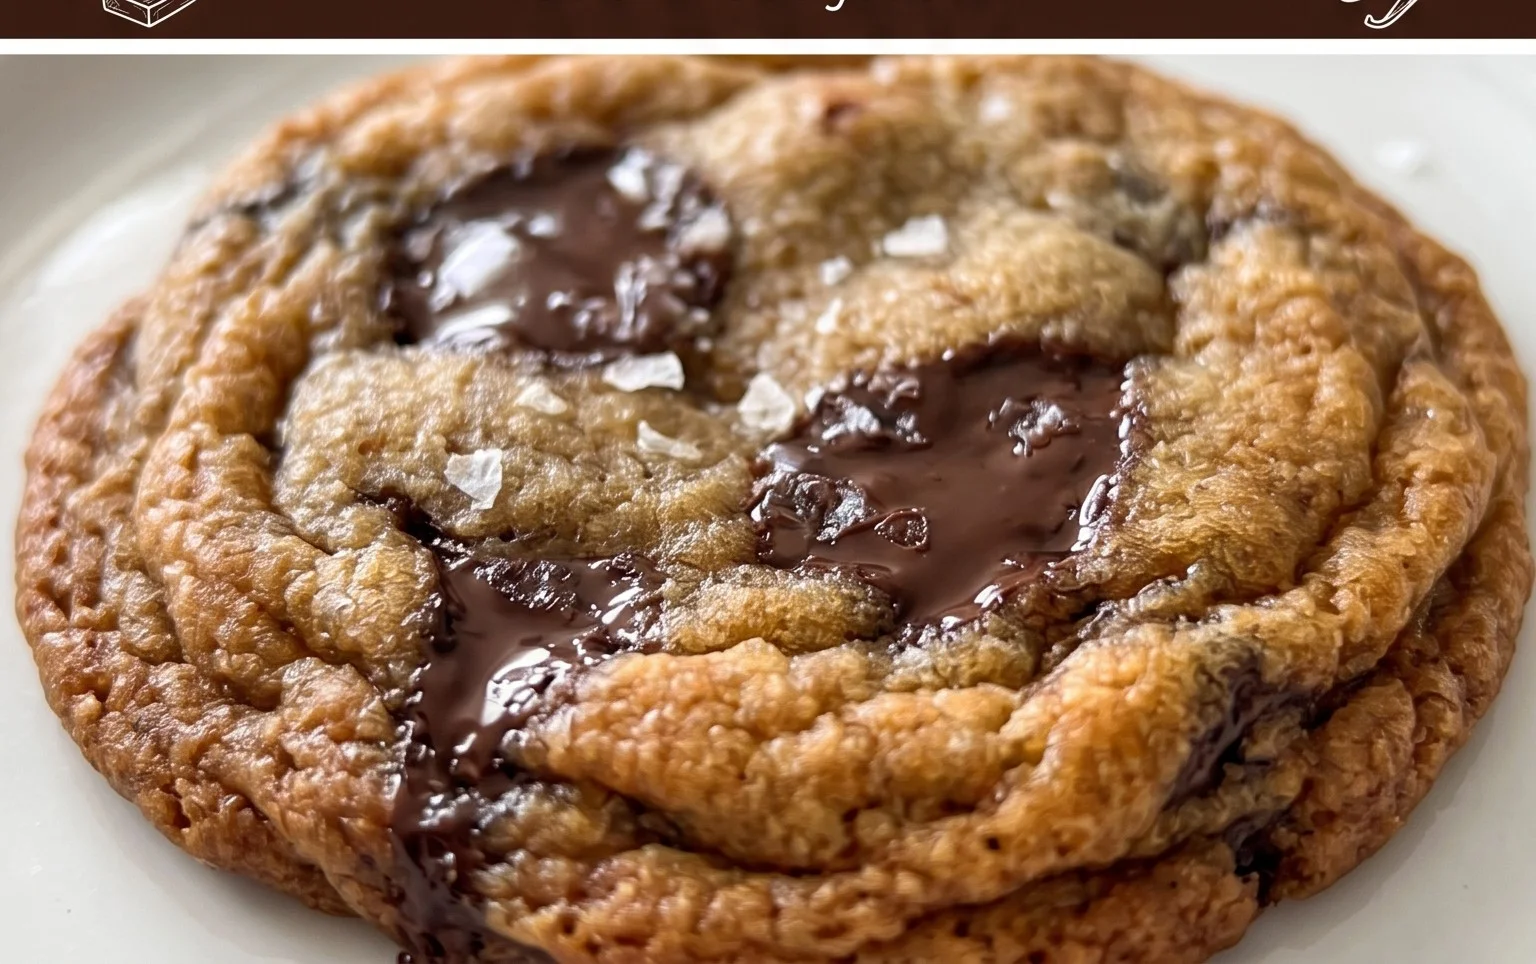
7. Bake for 9-12 minutes, or until the edges are golden brown and the centers still look slightly underbaked. This is the key to chewy cookies! They will continue to cook and set up as they cool on the baking sheet. If you prefer a crispier cookie, you can bake them for an additional minute or two, but be careful not to overbake them, as they can go from perfectly chewy to dry and brittle very quickly.
8. Let the cookies cool on the baking sheets for 5-10 minutes before transferring them to a wire rack to cool completely. This resting period on the hot baking sheet is crucial for the cookies to set up properly, preventing them from falling apart when you move them. Enjoy these crispy and chewy chocolate chip cookies warm, at room temperature, or stored in an airtight container for up to 3 days. They also freeze beautifully!
Conclusion:
As you can see, achieving that perfect balance of crispy edges and a delightfully chewy center in your chocolate chip cookies is entirely within reach! This recipe is a game-changer because it emphasizes simple techniques and quality ingredients to deliver consistently delicious results that will have everyone beggin extractg for more. The magic truly lies in the precise chilling of the dough and the careful baking time. These cookies are incredibly versatile – enjoy them warm with a glass of cold milk for a classic treat, or let them cool completely and pack them for a delightful midday snack. Don’t be afraid to experiment! Consider adding a pinch of sea salt on top before baking for an extra flavor pop, or perhaps swirl in some caramel or peanut butter for a decadent twist. I truly encourage you to give this recipe a try. You’ll be amazed at how easy it is to create bakery-quality crispy and chewy chocolate chip cookies in your own kitchen.
Frequently Asked Questions:
Why are my cookies not crispy enough?
This usually comes down to a few factors. Ensure you’re using the correct amount of butter and sugar, as their ratio significantly impacts texture. Overmixing the dough after adding flour can also develop gluten, leading to a tougher cookie. Finally, baking time is crucial; slightly underbaking and allowing them to firm up on the baking sheet as they cool is key for that desired crispy edge while maintaining a chewy interior.
Can I freeze the cookie dough?
Absolutely! Freezing the cookie dough is an excellent way to have fresh cookies ready whenever the craving strikes. Simply scoop your dough balls and place them on a parchment-lined baking sheet in the freezer until solid. Once frozen, transfer them to a freezer-safe bag or container. Bake directly from frozen, adding a minute or two to the baking time.
What’s the best way to store these cookies?
To maintain their crispy and chewy perfection, store cooled cookies in an airtight container at room temperature. If you want to keep them extra chewy, you can add a slice of bread to the container, which will release moisture and help prevent them from drying out too quickly. They are best enjoyed within 3-4 days.
Crispy and Chewy Chocolate Chip Cookies
The ultimate chocolate chip cookie recipe that delivers perfectly crispy edges and a wonderfully chewy center. A classic for a reason!
Ingredients
-
3 cups All-Purpose Flour
-
1 teaspoon Baking Soda
-
3/4 teaspoon Kosher Salt
-
2 sticks Unsalted Butter, softened
-
1 cup Light Brown Sugar, packed
-
1 cup Granulated Sugar
-
2 large Eggs
-
2 teaspoons Pure Vanilla Extract
-
2 1/2 cups Semisweet Chocolate Chips
-
1 teaspoon Flaked Sea Salt
Instructions
-
Step 1
In a medium bowl, whisk together the all-purpose flour, baking soda, and kosher salt. Set aside. -
Step 2
In a large bowl, cream together the softened unsalted butter, light brown sugar, and granulated sugar until light and fluffy. -
Step 3
Beat in the large eggs one at a time, then stir in the pure vanilla extract. -
Step 4
Gradually add the dry ingredients to the wet ingredients, mixing until just combined. Do not overmix. -
Step 5
Stir in the semisweet chocolate chips. For extra flavor, you can add a pinch of flaked sea salt at this stage. -
Step 6
Drop rounded tablespoons of dough onto ungreased baking sheets, spacing them about 2 inches apart. -
Step 7
Bake in a preheated oven at 375°F (190°C) for 10-12 minutes, or until the edges are golden brown and the centers are still slightly soft. -
Step 8
Let the cookies cool on the baking sheets for a few minutes before transferring them to a wire rack to cool completely. Sprinkle with flaked sea salt, if desired, immediately after removing from the oven.
Important Information
Nutrition Facts (Per Serving)
It is important to consider this information as approximate and not to use it as definitive health advice.
Allergy Information
Please check ingredients for potential allergens and consult a health professional if in doubt.