Spicy Pickled Banana Peppers – Tangy & Delicious
Pickled banana peppers are a true culinary gem, offering a vibrant burst of tangy, slightly sweet, and subtly spicy flavor that elevates so many dishes. I absolutely adore them, and I bet you do too! What makes these zesty delights so universally loved? It’s their incredible versatility. Whether you’re piling them high on a deli sandwich, tossing them into a vibrant pasta salad, or simply enjoying them as a crunchy snack straight from the jar, pickled banana peppers bring an unforgettable zing. They’re the perfect counterpoint to rich, fatty foods, cutting through grease with their bright acidity and adding a delightful crunch that’s utterly satisfying. The beauty of making your own pickled banana peppers at home lies in the ability to control the spice level and brine, ensuring your jar is always filled with your perfect version of this beloved condiment. Get ready to discover how easy it is to achieve that signature tang and crispness that makes pickled banana peppers so special.
Pickled Banana Peppers
There’s something incredibly satisfying about homemade pickles. The tang, the crunch, and the ability to customize them to your exact liking are unmatched. Today, we’re diving into the vibrant world of pickled banana peppers. These beauties are mild, slightly sweet, and wonderfully versatile. Whether you’re adding them to sandwiches, pizzas, salads, or just enjoying them straight from the jar, these homemade pickled banana peppers are sure to become a staple in your refrigerator. They’re surprisingly easy to make, requiring minimal fuss and yielding a fantastic flavorful result. Let’s get started on transforming these fresh peppers into a pantry essential!
Ingredients:
Preparing Your Peppers and Jars
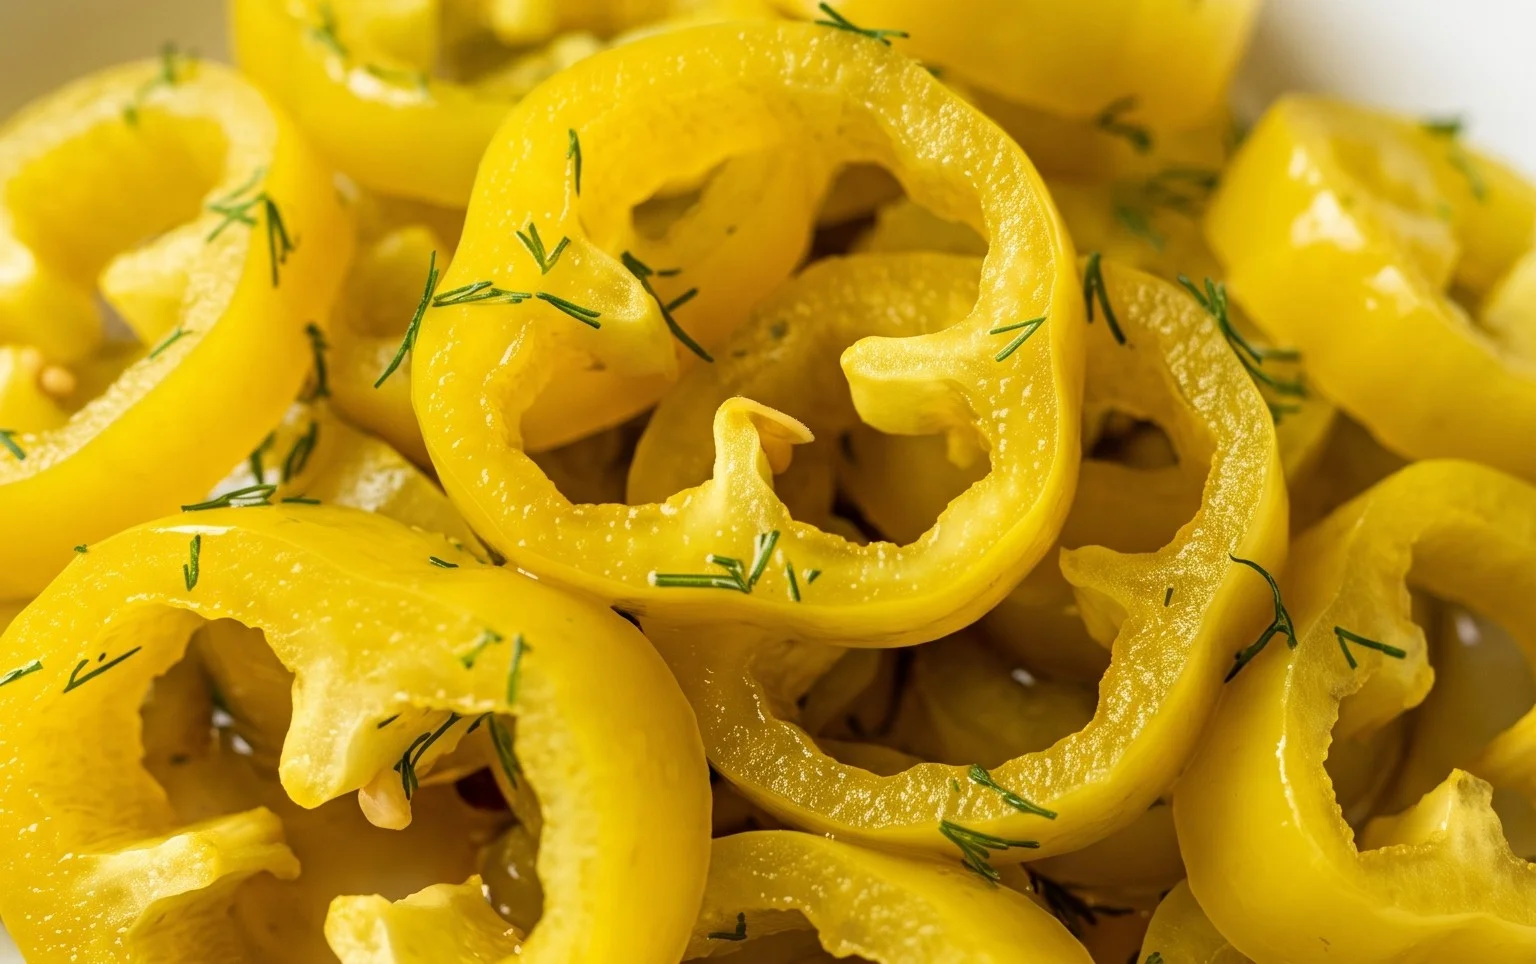
The first step in creating your delicious pickled banana peppers is to ensure everything is clean and ready. Wash your banana peppers thoroughly under cool running water. You can remove the stems, but it’s not strictly necessary as they’ll be removed before eating. The key is to slice them uniformly. I like to slice them into rings about ¼ inch thick. This ensures even pickling and a consistent texture. If you prefer larger pieces, you can halve them lengthwise.
While your peppers are draining, let’s talk about jars. You’ll need at least one clean pint-sized jar, or a quart-sized jar if you prefer to make a larger batch. Sterilizing your jars is an important step to ensure your pickles last longer and to prevent spoilage. You can do this by washing them in hot, soapy water and then placing them in a preheated oven at 225°F (107°C) for at least 15 minutes. Alternatively, you can boil them in water for 10 minutes. Make sure you have clean lids and rings too.
Crafting the Brine
The heart of any great pickle is its brine. This is where all the flavor magic happens. In a medium saucepan, combine your vinegar, water, salt, and sugar. I’ve found that using either a 5% white vinegar or a 5% apple cider vinegar gives a nice balance of acidity and flavor. The salt is crucial for preservation and for drawing out moisture, while the sugar helps to balance the acidity and adds a subtle sweetness that complements the mild heat of the banana peppers.
Place the saucepan over medium heat and stir constantly until the salt and sugar have completely dissolved. You don’t need to bring this to a rolling boil, just ensure all the granules are gone. Once dissolved, remove the saucepan from the heat. This warm brine will help to start the pickling process as soon as it’s poured over your peppers.
Assembling Your Pickled Peppers
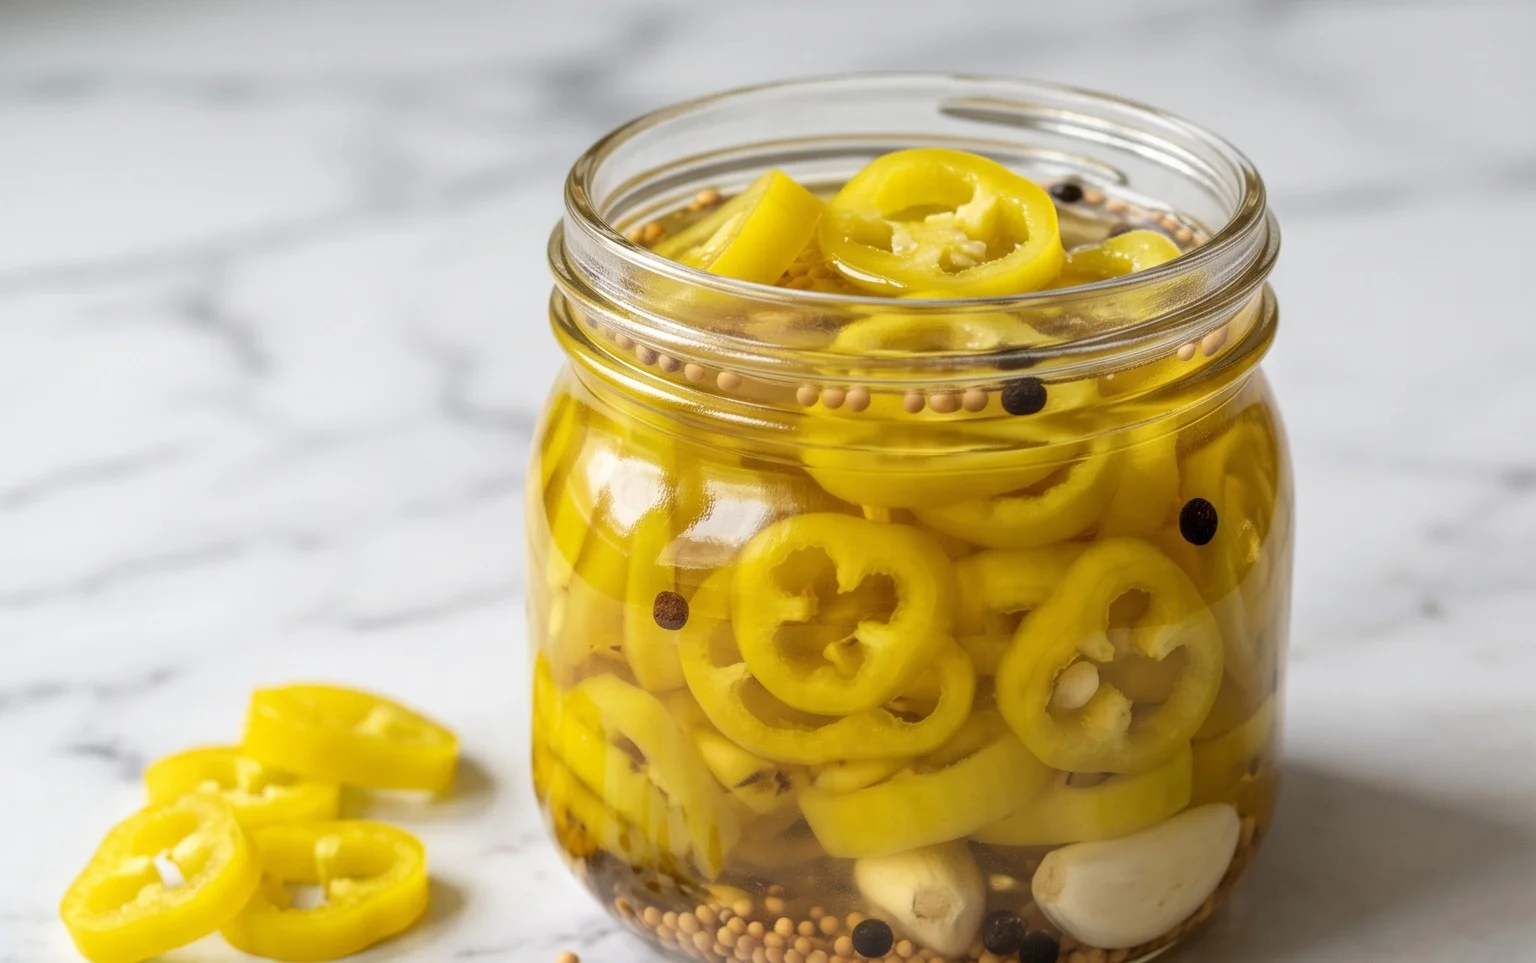
Now comes the fun part: assembling your jars! Take your prepared banana pepper slices and pack them snugly into your clean, sterilized jar. Don’t be afraid to really pack them in there, but avoid crushing them. As you layer in the peppers, you’ll want to tuck in your aromatics. Add the peeled garlic cloves throughout the jar. Don’t worry about mincing the garlic; whole cloves will infuse a lovely subtle garlic flavor without becoming overpowering.
Next, sprinkle in your whole spices. The mustard seeds will add a nice pop of texture and a slightly pungent flavor. The whole black peppercorns contribute a gentle warmth, and the coriander seeds bring a lovely citrusy, floral note that pairs wonderfully with the peppers. Distribute these spices evenly amongst the peppers in the jar. The combination of these spices with the garlic and brine creates a complex and addictive flavor profile.
The Infusion Process
Once your jar is packed with peppers, garlic, and spices, it’s time to pour in the prepared brine. Carefully pour the warm brine over the peppers, making sure to cover them completely. You want every pepper to be submerged in the liquid. If your jar isn’t quite full enough to cover everything, you can make a little extra brine by following the same ratio of vinegar, water, salt, and sugar.
Gently tap the jar on your counter a few times to release any trapped air bubbles. You can also use a clean chopstick or skewer to gently work around the edges of the jar, dislodgin extractg any stubborn air pockets. Ensure the liquid level reaches the very top of the jar. Seal the jar tightly with its sterilized lid and ring.
Cooling and Refrigeration
After sealing the jar, let it sit at room temperature for about an hour or two. This initial cooling period allows the peppers to begin extract absorbing the flavors from the brine while still at a safe temperature. Once they’ve cooled down significantly, it’s time to transfer them to the refrigerator.
The real magic happens in the fridge. Allow your pickled banana peppers to chill and meld for at least 24-48 hours before you dig in. The longer they sit, the more the flavors will develop and deepen. I find that they are absolutely divine after about a week. They will continue to improve in flavor for several weeks. Store your pickled banana peppers in the refrigerator, and they should last for several months. Enjoy the fruits of your labor!
Conclusion:
There you have it – a simple yet incredibly rewarding recipe for making your own delicious pickled banana peppers! This recipe is fantastic because it allows you to control the flavor profile, from the perfect balance of brine to the ideal level of spice. The versatility of these tangy, slightly sweet pickled peppers is truly astounding. Imagin extracte them adding a vibrant kick to your sandwiches and burgers, jazzing up your charcuterie boards, or even bringin extractg a lively crunch to your pizzas and salads. I highly encourage you to give this pickled banana pepper recipe a try; you’ll be amazed at how easy it is to elevate everyday meals.
Beyond the classic brine, feel free to experiment with variations! Consider adding a pinch of red pepper flakes for more heat, a sprig of dill for an herbaceous note, or even a few garlic cloves for an extra layer of flavor. The possibilities are truly endless. So, grab some fresh banana peppers and get pickling – I promise you won’t regret adding this flavorful condiment to your repertoire.
Frequently Asked Questions:
How long do pickled banana peppers last?
Properly stored in an airtight container in the refrigerator, your homemade pickled banana peppers can last for several months, typically 2-3 months. You’ll notice the flavor will continue to develop over time, becoming even more nuanced.
Can I use different types of peppers?
Absolutely! While this recipe is designed for banana peppers, you can experiment with other mild to medium-heat peppers like Hungarian wax peppers or even certain types of mild chili peppers. Adjust the brine slightly if using peppers with a significantly different flavor profile.
What is the best way to store pickled banana peppers?
The key to longevity is proper storage. Ensure your pickled banana peppers are submerged in their brine and kept in a clean, airtight glass jar or container in the refrigerator. Always use clean utensils when serving to avoid contamination.
Pickled Banana Peppers
A quick and easy recipe for tangy and slightly spicy pickled banana peppers, perfect for sandwiches, salads, or as a relish.
Ingredients
-
1 lb banana pepper, sliced
-
1 cup white vinegar (5% acidity)
-
1 cup water
-
2 tsp salt
-
3 tsp sugar
-
10-12 garlic cloves
-
3 tsp mustard seeds
-
2 tsp whole black pepper
-
2 tsp coriander seeds
Instructions
-
Step 1
Wash and slice the banana peppers, removing stems and seeds if desired for less heat. Peel the garlic cloves. -
Step 2
In a saucepan, combine white vinegar, water, salt, and sugar. Heat over medium heat, stirring until the salt and sugar are dissolved. -
Step 3
Add the mustard seeds, whole black pepper, and coriander seeds to the brine. Bring to a simmer and cook for 5 minutes to infuse the flavors. -
Step 4
While the brine simmers, pack the sliced banana peppers and garlic cloves tightly into clean, sterilized jars. -
Step 5
Carefully pour the hot brine over the peppers and garlic in the jars, ensuring they are fully submerged. Leave about 1/2 inch headspace. -
Step 6
Wipe the rims of the jars clean, place lids on, and screw on bands until fingertip tight. Let cool to room temperature, then refrigerate for at least 24-48 hours before serving for best flavor.
Important Information
Nutrition Facts (Per Serving)
It is important to consider this information as approximate and not to use it as definitive health advice.
Allergy Information
Please check ingredients for potential allergens and consult a health professional if in doubt.