Easy Japanese Tuna Onigiri Quick Recipe
15-min. Easy Japanese Tuna Onigiri are your new go-to for a lightning-fast, incredibly satisfying meal or snack. Ever find yourself craving something delicious, wholesome, and ready in a flash? That’s where these simple yet elegant rice balls come in. Japanese tuna onigiri are a beloved classic for a reason: they’re incredibly versatile, bursting with savory flavor, and incredibly portable. What makes this particular recipe stand out? It distills the essence of authentic onigiri into a weeknight-friendly format. We’re talking about the perfect balance of fluffy rice, flavorful tuna filling, and that irresistible, slightly salty exterior. It’s the kind of comfort food that feels both familiar and wonderfully exotic, proving that gourmet taste doesn’t always require hours in the kitchen. Get ready to master these amazing 15-min. easy Japanese tuna onigiri and impress yourself (and anyone lucky enough to share!).
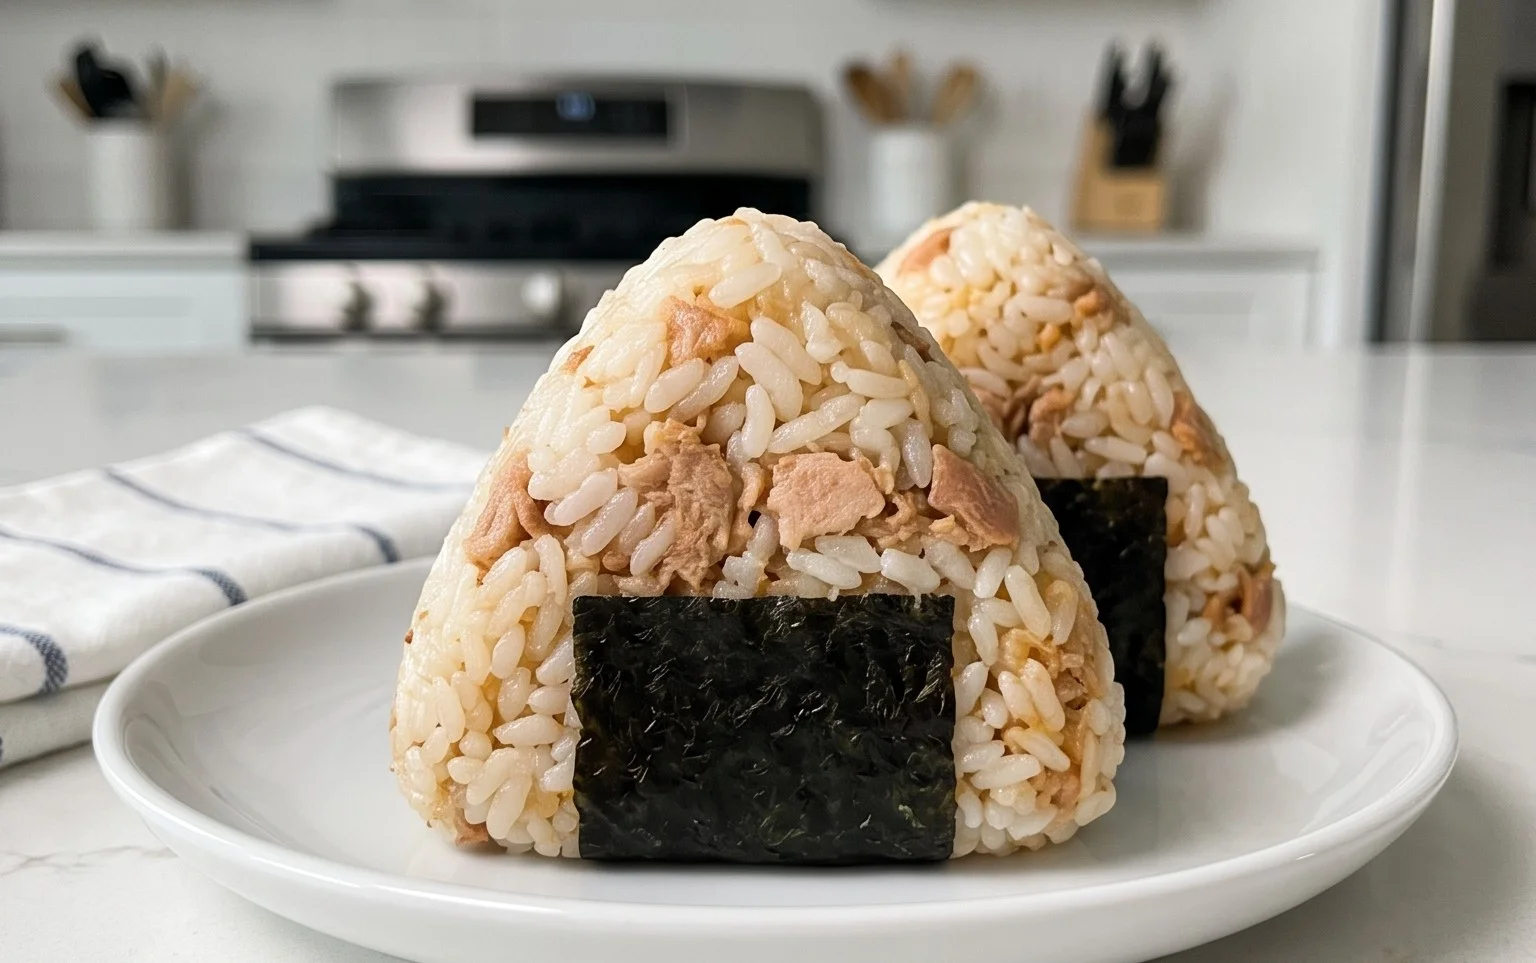
15-Min. Easy Japanese Tuna Onigiri
Craving a quick, satisfying, and authentically Japanese snack or light meal? Look no further than Onigiri, also known as Japanese rice balls. These delightful little parcels are incredibly versatile and surprisingly easy to make, especially this 15-minute version featuring a classic tuna mayo filling. Perfect for busy weeknights, portable lunches, or a comforting snack anytime, these tuna onigiri are a game-changer. The combination of fluffy rice, savory tuna, creamy mayonnaise, and the satisfying crunch of nori is simply irresistible.
What makes this recipe so appealing is its speed and simplicity. You can whip up a batch in the time it takes to make a cup of tea. Plus, the ingredients are pantry staples for many, or easily found at your local grocery store. We’ll guide you through each step, ensuring your onigiri are perfectly shaped and bursting with flavor. Don’t worry if you’re new to making onigiri; this recipe is designed for begin extractners, and with a few simple techniques, you’ll be a pro in no time. The beauty of onigiri lies in its adaptability; feel free to adjust the seasoning or add other favorite ingredients to your tuna filling.
Ingredients:
Cooking Instructions:
Preparing the Tuna Filling
The first step in creating our delicious tuna onigiri is to prepare the flavorful filling. Open your can of tuna and drain off any excess liquid. For the best texture and flavor, I highly recommend using tuna packed in oil. If you’re using tuna in water, you might find the filling a little drier, so you can adjust the amount of mayonnaise accordingly. Transfer the drained tuna to a small bowl. Now, add the Japanese mayonnaise. Japanese mayonnaise, like Kewpie, has a richer, creamier flavor with a distinct tang that pairs wonderfully with tuna. However, regular mayonnaise will work perfectly well too. Gently break up the tuna with a fork and mix it thoroughly with the mayonnaise until it forms a cohesive, creamy mixture. You want it to be well combined but not mashed into a paste. You can also add a pinch of black pepper at this stage if you like a little extra zing. Taste the filling and adjust the mayonnaise if needed; it should be creamy and savory.
Shaping the Rice Balls
Now for the fun part – shaping the onigiri! It’s crucial to work with warm rice for shaping. If your rice has cooled down completely, gently warm it up in the microwave. Place the cooked short-grain rice into a medium-sized bowl. Sprinkle the 1/2 teaspoon of salt over the rice. Don’t be tempted to skip the salt; it’s essential for seasoning the rice and enhancing its flavor. Now, gently mix the salt into the rice using a spoon or your hands. The key to shaping onigiri is to slightly dampen your hands with water. This prevents the rice from sticking to your palms. You can keep a small bowl of water nearby to re-wet your hands as needed. Take about half a cup of the seasoned rice and place it in your palm. Create a small indentation in the center of the rice with your thumb. Spoon about a tablespoon of the tuna mayo filling into this indentation. Now, gently bring the edges of the rice up and around the filling, enclosing it completely. Start to shape the rice into a ball, triangle, or cylinder. For a classic triangle shape, gently press your index finger and thumb together on two sides of the ball to create a point, then flatten the base. Rotate the rice ball and press gently to form the sides. The pressure should be firm enough to hold the onigiri together but not so hard that you crush the rice grains.
Forming and Sealing with Nori
Once you have your rice ball filled and roughly shaped, it’s time to add that signature nori crunch. For each onigiri, you’ll typically need a strip of nori. If you’re using the full sheets of nori, you can cut them into strips about 1.5 to 2 inches wide and the appropriate length to wrap around the base or side of your rice ball. Alternatively, you can use pre-cut nori strips if available. Take one of your prepared rice balls. Wrap a strip of nori around the base or middle of the onigiri, depending on your preference. The moisture from the rice will help the nori stick. If you like, you can lightly moisten the edge of the nori strip with a tiny bit of water to help it seal. For a more decorative touch, you can press some sesame seeds onto the nori strip before wrapping it around the rice ball, or even sprinkle them directly onto the onigiri after shaping. Ensure the nori is snug against the rice. This not only adds a delicious umami flavor and texture but also makes the onigiri easier to handle and eat.
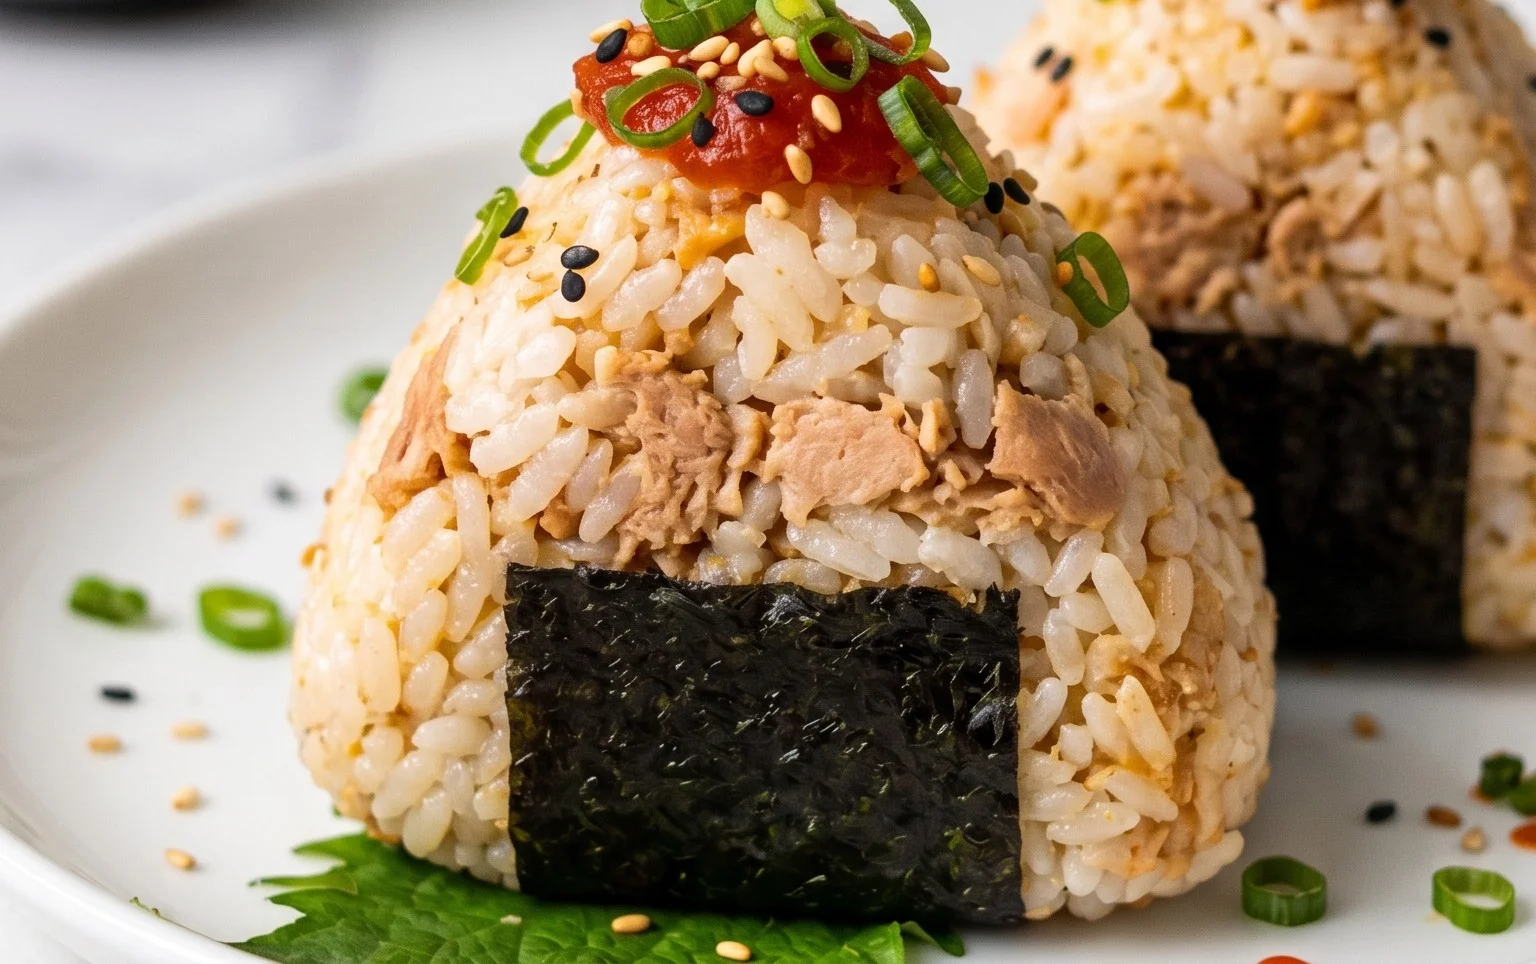
Optional Garnishing and Serving
To elevate your onigiri from simple to spectacular, consider a few optional garnishes. As mentioned, sesame seeds are a fantastic addition. You can toast them lightly in a dry pan for a few minutes until fragrant, then sprinkle them over the nori or press them into the rice ball before adding the nori. This adds a lovely nutty flavor and visual appeal. For those who enjoy a bit of spice, a tiny drizzle of sriracha or a pinch of shichimi togarashi (Japanese seven-spice blend) on top of the tuna filling before closing the rice ball can add a wonderful kick. Once your onigiri are shaped and adorned, they are ready to be enjoyed immediately. They are best served at room temperature, though they can be eaten slightly warm. If you need to make them ahead of time, you can store them in an airtight container at room temperature for a few hours. Avoid refrigerating them, as the rice can become hard and dry. These onigiri are perfect on their own, or you can serve them with a simple side salad or some miso soup for a more complete meal.
Tips for Success and Variations
Making perfect onigiri is all about practice and understanding a few key principles. Ensure your rice is the right type – short-grain Japanese rice is ideal as it’s sticky and holds its shape well. If you’re cooking fresh rice for this recipe, make sure it’s not overly wet; a slightly firmer texture is better for shaping. Don’t overwork the rice when mixing in the salt or forming the balls; gentle handling preserves the fluffy texture. If you find shaping difficult, don’t fret! You can also use onigiri molds, which are readily available and make the process foolproof. For variations, the tuna mayo filling is just the begin extractning. You can experiment with other popular onigiri fillings such as seasoned salmon (flake cooked salmon and mix with a pinch of salt), mentaiko (spicy cod roe), or even umeboshi (pickled plum). You can also add finely chopped green onions or a dash of soy sauce to the tuna filling for extra depth of flavor. The possibilities are endless, making each batch of onigiri a unique culinary adventure!
Conclusion:
And there you have it – delicious, satisfying Japanese tuna onigiri ready in just 15 minutes! This recipe truly shines in its simplicity and speed, making it perfect for busy weeknights, quick lunches, or even a wholesome snack. The combination of fluffy rice, savory tuna, and a hint of umami is incredibly rewarding for such minimal effort. Don’t be intimidated by making your own onigiri; it’s a fun and forgiving process. I hope you’ll give this easy Japanese tuna onigiri a try – it’s become a go-to in my kitchen!
These versatile rice balls are fantastic on their own, but I love serving them with a side of miso soup for a complete meal. They also pair wonderfully with a simple pickled vegetable salad. Feel free to get creative with your fillings! While tuna is a classic, consider experimenting with seasoned salmon, cooked chicken, or even vegetarian options like seasoned mushrooms. The possibilities are endless!
Frequently Asked Questions:
Can I make the rice ahead of time for this Japanese tuna onigiri?
Absolutely! You can cook your sushi rice earlier in the day and let it cool. Just remember to gently reheat it before forming the onigiri to ensure it’s pliable and easier to work with. If it’s too dry after reheating, a tiny splash of water can help.
What’s the best way to store leftover onigiri?
For the best texture, onigiri are best enjoyed fresh. However, if you have leftovers, wrap them tightly in plastic wrap and store them at room temperature for up to 24 hours. Refrigerating can make the rice hard, so it’s generally not recommended unless absolutely necessary, and then gently reheat before consuming.
15-min. Easy Japanese Tuna Onigiri
Quick and simple Japanese rice balls filled with seasoned tuna and mayonnaise, perfect for a light meal or snack.
Ingredients
-
2 cups cooked short grain rice
-
1/2 tsp salt
-
5.29 oz canned tuna (in oil recommended, or canned tuna in water)
-
2 tbsp Japanese mayo (or regular mayonnaise)
-
2 sheets nori (or use 1/2 sheet if you prefer less)
-
1 tsp sesame seeds (for garnishing, optional)
Instructions
-
Step 1
In a bowl, gently mix the cooked short grain rice with 1/2 tsp salt. Let it cool slightly so it’s comfortable to handle. -
Step 2
Drain the canned tuna well. In a separate small bowl, mix the drained tuna with the Japanese mayonnaise until well combined. -
Step 3
Wet your hands with water and rub a little salt on your palms to prevent sticking. Take a portion of the seasoned rice and flatten it slightly in your palm. -
Step 4
Place about 1-2 tablespoons of the tuna mixture in the center of the flattened rice. Gently gather the rice around the filling, forming a ball or triangle shape. Repeat with remaining rice and filling. -
Step 5
Cut the nori sheets into strips. Wrap a strip of nori around each onigiri. -
Step 6
If using, sprinkle sesame seeds on top of the onigiri for garnish.
Important Information
Nutrition Facts (Per Serving)
It is important to consider this information as approximate and not to use it as definitive health advice.
Allergy Information
Please check ingredients for potential allergens and consult a health professional if in doubt.