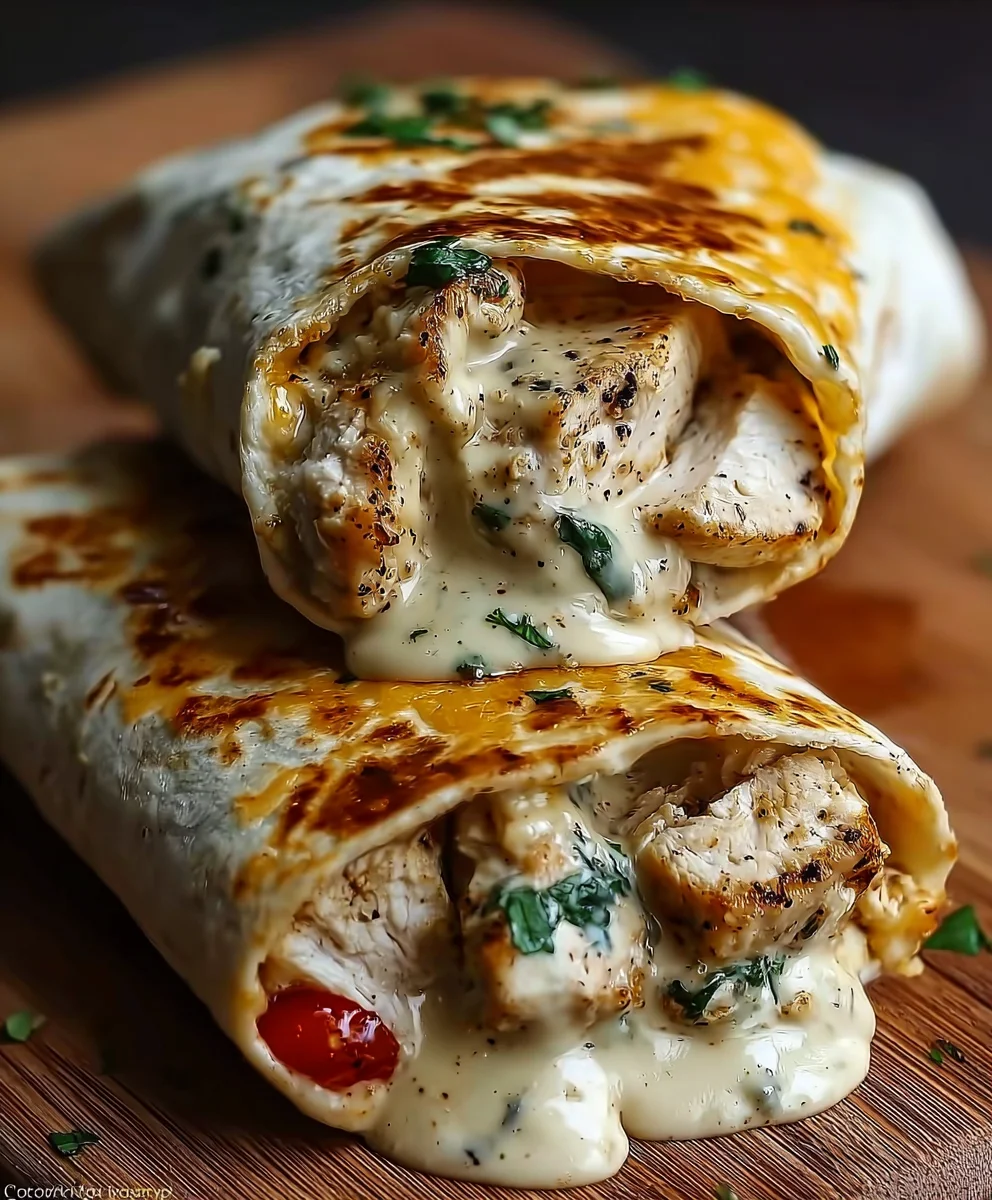
Cheesy Garlic Chicken Wraps – Quick Easy Dinner
Cheesy Garlic Chicken Wraps are more than just a meal; they’re a comforting hug in tortilla form, a weeknight savior, and a guaranteed crowd-pleaser. I’ve always been drawn to dishes that blend savory, garlicky goodness with that irresistible cheesy pull, and these wraps hit every single one of those delightful notes. It’s no wonder they’ve become a staple in my kitchen, and I suspect they’ll quickly become one in yours too. What truly sets these Cheesy Garlic Chicken Wraps apart is the harmonious marriage of tender, pan-seared chicken bathed in a fragrant garlic butter sauce, generously enveloped by melty, golden cheese, all cradled within a soft, warm tortilla. They’re incredibly easy to assemble, making them perfect for busy evenings, yet sophisticated enough to impress when friends drop by unexpectedly. Get ready to fall in love with this flavor-packed, incredibly satisfying wrap.
Ingredients:
- 2 large chicken breasts, diced into bite-sized pieces
- 1 tablespoon olive oil
- 2 teaspoons garlic powder
- 1 teaspoon onion powder
- 1 teaspoon paprika
- Salt and freshly ground black pepper, to your personal preference
- 1 cup shredded cheddar cheese
- 1/2 cup shredded mozzarella cheese
- 4 large flour tortillas
- 1/2 cup creamy garlic sauce
- Fresh parsley, chopped, for garnishing (this is entirely optional but adds a lovely touch)
Preparing the Cheesy Garlic Chicken
Searing the Chicken
- Begin extract by preparing your chicken. Ensure it’s diced into uniform, bite-sized pieces. This helps with even cooking. In a medium-sized bowl, toss the diced chicken with the olive oil, garlic powder, onion powder, paprika, salt, and pepper. Make sure each piece is well-coated with the seasonings. The olive oil will help the spices adhere and will also contribute to a lovely sear.
- Heat a large skillet over medium-high heat. Once the skillet is hot, carefully add the seasoned chicken. You want to hear a gentle sizzle as the chicken hits the pan. Avoid overcrowding the skillet, as this can steam the chicken rather than sear it. If necessary, cook the chicken in two batches.
- Cook the chicken for about 6-8 minutes, stirring occasionally, until it’s golden brown on all sides and cooked through. You’ll know it’s cooked when it’s no longer pink in the center. Once cooked, remove the chicken from the skillet and set it aside on a plate. This step ensures tender, flavorful chicken that forms the base of our delicious wraps.
Assembling the Wraps
Creating the Cheesy Filling
- Return the skillet to medium heat. If there’s any excess oil, you can carefully drain it off, but a little bit is good for flavor. Add the cooked chicken back into the skillet.
- Now it’s time for the cheese! Sprinkle the shredded cheddar cheese and shredded mozzarella cheese evenly over the chicken in the skillet. Stir gently until the chgin extractes begin to melt and coat the chicken in a glorious, gooey layer. This cheesy goodness is what makes these wraps truly irresistible. The combination of cheddar for its sharp, robust flavor and mozzarella for its incredible meltability is key. Stir until you have a delightful, cheesy chicken mixture.
- Once the cheese is beautifully melted and has embraced the chicken, add the creamy garlic sauce to the skillet. Stir everything together until the chicken, cheese, and sauce are thoroughly combined. The sauce should coat everything in a rich, garlicky embrace. Taste a small piece of the chicken mixture and adjust salt and pepper if needed. The goal here is a cohesive, flavorful filling that’s ready to be wrapped.
Warming and Filling the Tortillas
- Warm your flour tortillas. This makes them more pliable and easier to fold without tearing. You can do this by briefly heating them in a dry skillet over low heat for about 30 seconds per side, or by wrapping them in a damp paper towel and microwaving them for about 20-30 seconds. Choose the method that best suits your kitchen setup. Warm tortillas are crucial for a seamless wrapping experience.
- Spoon a generous amount of the cheesy garlic chicken mixture onto the center of each warmed tortilla. Don’t overfill, or you’ll have a hard time closing them! Aim to distribute the filling evenly to ensure every bite is packed with flavor.
- Fold in the sides of the tortilla towards the center, then tightly roll up from the bottom to create a neat wrap. If you like, you can place the seam-side down back into the warm skillet for a minute or two to help seal them and give them a slightly crisp exterior.
Finishing Touches
- Once your Cheesy Garlic Chicken Wraps are assembled, you can serve them immediately. For an extra burst of freshness and visual appeal, sprinkle a little chopped fresh parsley over the top of each wrap as a garnish. This optional step adds a lovely contrast in color and a subtle herbaceous note that complements the rich, cheesy chicken beautifully. Enjoy these hearty and satisfying wraps hot!
Conclusion:
And there you have it – your guide to creating delicious Cheesy Garlic Chicken Wraps! We’ve walked through each step, from preparing the tender chicken to creating that irresistible garlicky cheese sauce, and assembling these flavorful wraps. These Cheesy Garlic Chicken Wraps are incredibly versatile, perfect for a quick weeknight dinner, a satisfying lunch, or even a fun appetizer for gatherings. For serving suggestions, consider pairing them with a crisp side salad, some crunchy sweet potato fries, or a creamy coleslaw. Don’t be afraid to experiment with variations! You can add a sprinkle of red pepper flakes for a bit of heat, swap out the cheddar for mozzarella or pepper jack cheese, or even include some sautéed mushrooms or onions for extra depth of flavor. I truly hope you enjoy making and savoring these fantastic Cheesy Garlic Chicken Wraps as much as I do. Dive in and happy cooking!
Frequently Asked Questions about Cheesy Garlic Chicken Wraps:
Q1: Can I prepare the chicken filling for Cheesy Garlic Chicken Wraps in advance?
Absolutely! You can cook and shred or dice the chicken up to 2 days in advance and store it in an airtight container in the refrigerator. When you’re ready to assemble your Cheesy Garlic Chicken Wraps, simply reheat the chicken gently before mixing it with the cheese sauce. This will save you even more time on busy days.
Q2: What kind of tortillas are best for Cheesy Garlic Chicken Wraps?
For Cheesy Garlic Chicken Wraps, almost any soft tortilla will work wonderfully. Flour tortillas are a popular choice as they are pliable and hold up well to the filling. You can also use whole wheat tortillas for a healthier option, or even large lettuce leaves if you’re looking for a low-carb alternative. Just ensure they are large enough to comfortably wrap around the generous chicken and cheese mixture.
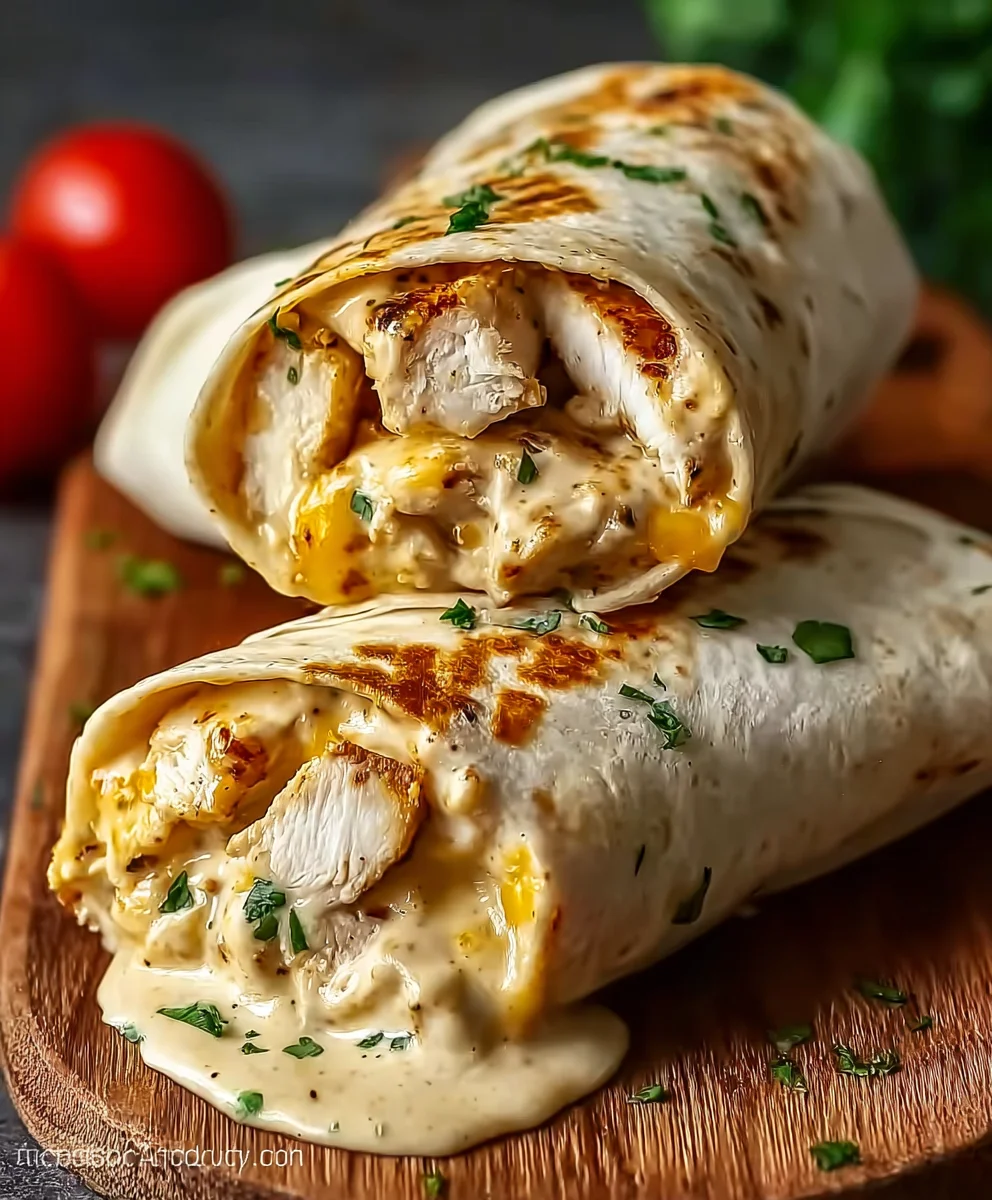
Cheesy Garlic Chicken Wraps
Quick and easy dinner wraps filled with seasoned chicken, melted cheese, and creamy garlic sauce.
Ingredients
-
2 large chicken breasts, diced
-
1 tbsp olive oil
-
2 tsp garlic powder
-
1 tsp onion powder
-
1 tsp paprika
-
Salt and pepper to taste
-
1 cup shredded cheddar cheese
-
1/2 cup shredded mozzarella cheese
-
4 large flour tortillas
-
1/2 cup creamy garlic sauce
-
Fresh parsley for garnish (optional)
Instructions
-
Step 1
Toss diced chicken with olive oil, garlic powder, onion powder, paprika, salt, and pepper in a bowl. -
Step 2
Sear seasoned chicken in a hot skillet over medium-high heat for 6-8 minutes until golden brown and cooked through. Set aside. -
Step 3
Return chicken to the skillet over medium heat. Sprinkle cheddar and mozzarella cheeses over the chicken and stir until melted. -
Step 4
Add creamy garlic sauce to the skillet and stir until everything is well combined. -
Step 5
Warm flour tortillas. Spoon the cheesy garlic chicken mixture onto the center of each tortilla. -
Step 6
Fold in the sides of the tortilla and roll up tightly. Optionally, sear seam-side down in the skillet. -
Step 7
Garnish with fresh parsley if desired and serve immediately.
Important Information
Nutrition Facts (Per Serving)
It is important to consider this information as approximate and not to use it as definitive health advice.
Allergy Information
Please check ingredients for potential allergens and consult a health professional if in doubt.