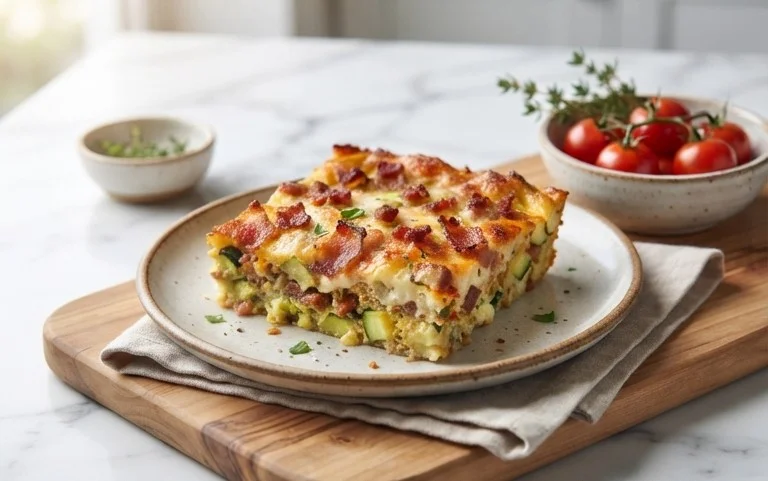
Tri Tip Two Ways- Delicious and Easy Steak
Tri tip, oh tri tip! If you’re a beef lover, you know the magic that this cut of meat holds. Its incredible flavor and surprisingly tender texture make it a backyard grilling cbeef hampion and a weeknight dinner hero. But what makes the humble tri tip so universally adored? It’s the perfect balance of rich, beefy taste with just the right amount of marbling, allowing it to absorb marinades beautifully and achieve a glorious crust when cooked properly. And the best part? This versatile cut truly shines when prepared in multiple ways. Today, we’re diving into not just one, but two fantastic methods to unlock the full potential of your tri tip, ensuring you have go-to recipes that will impress every time.
Unlock the Secrets to Perfect Tri Tip (2 Ways)
Get ready for a flavor explosion!
Tri Tip (2 Ways)
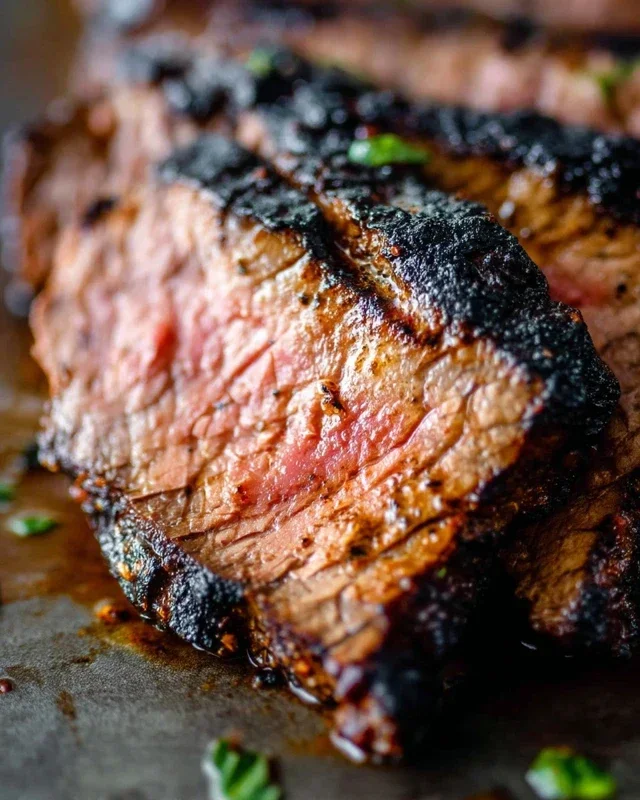
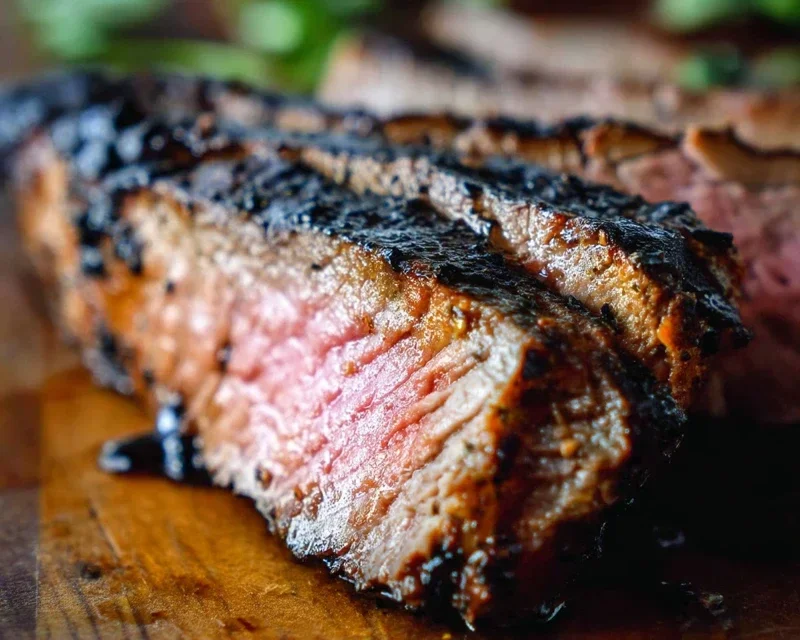
The tri-tip roast, a flavorful and often overlooked cut from the sirloin, is a fantastic choice for a weeknight dinner or a weekend barbecue. Its inherent marbling lends itself to both tender and juicy results, and its versatility means you can prepare it in a couple of distinctly delicious ways. Today, we’re going to explore two of my favorite methods: a classic grilled preparation that brings out its smoky potential, and a pan-seared and oven-finished approach for incredible crust development and even cooking. Whichever method you choose, the result will be a crowd-pleasing, deeply satisfying beef dish.
Ingredients:
Grilled Tri Tip
This is the quintessential way to enjoy a tri-tip for many, and for good reason. The open flame imparts a wonderful smoky flavor that complements the beef perfectly. The key here is to manage your heat effectively, creating zones for searing and then for indirect cooking to ensure the roast reaches your desired temperature without burning.
Instructions:
Pan-Seared & Oven-Finished Tri Tip
For those who prefer a super-developed crust and don’t have access to a grill, or simply want a different approach, this method is for you. It combines the intense heat of a cast-iron skillet with the even, controlled heat of the oven for a wonderfully browned exterior and perfectly cooked interior.
Instructions:
Both of these methods will yield a delicious tri-tip roast. The grilled version offers that classic smoky char, while the pan-seared and oven-finished approach delivers an incredibly robust crust. Experiment with both and discover your favorite way to enjoy this fantastic cut of beef!
Conclusion:
There you have it – two fantastic ways to prepare a mouthwatering Tri Tip! We’ve explored a classic, robust rub for a bold flavor, and a more nuanced herb-infused approach for a lighter, brighter profile. Both methods highlight the incredible tenderness and rich beefy flavor of this cut. The beauty of this Tri Tip (2 Ways) recipe lies in its simplicity, allowing the quality of the meat to shine, while offering enough versatility to suit different palates. Whether you’re a seasoned grill master or just starting out, these recipes are incredibly rewarding and surprisingly easy to execute, promising delicious results every time. I truly encourage you to give them a try and discover your personal favorite!
For serving, imagin extracte these succulent slices alongside a vibrant potato salad, grilled asparagus, or a fresh garden salad. They also make for incredible steak sandwiches or can be the star of a hearty taco night. Don’t be afraid to experiment with your own favorite side dishes or even try a different marinade if you’re feeling adventurous!
Frequently Asked Questions:
What’s the best way to tell when my Tri Tip is done?
The most accurate way is to use an instant-read thermometer. For medium-rare, aim for an internal temperature of 130-135°F (54-57°C). For medium, target 135-145°F (57-63°C). Remember to let the Tri Tip rest for at least 10-15 minutes after cooking before slicing, as this allows the juices to redistribute, resulting in an even more tender and flavorful cut.
Can I cook Tri Tip indoors?
Absolutely! While grilling is fantastic, you can achieve excellent results indoors. For the rub method, a hot cast-iron skillet or your oven broiler will work wonderfully. For the herb-infused version, searing in a pan and finishing in the oven is a great indoor alternative. Just ensure your pan or oven is preheated to a high temperature to get a good sear.
What if I can’t find Tri Tip?
If Tri Tip is unavailable in your area, a thick-cut sirloin or even a well-marbled chuck roast can be substituted, though the cooking times and final texture might vary slightly. You may need to adjust your cooking approach to best suit the substitute cut.
Tri Tip (2 Ways)
A versatile tri tip roast prepared two delicious ways: a classic seasoned roast and a marinated grilled version.
Ingredients
-
2 & 1/2 pound tri tip roast
-
1 & 1/2 teaspoons garlic salt
-
1 tablespoon Lawry’s seasoning salt
-
1 & 1/2 teaspoons kosher salt (Diamond Crystal)
-
1 teaspoon black pepper
-
1/2 teaspoon sugar
-
2 teaspoons garlic powder
-
1 tablespoon dried or fresh parsley
-
1/4 cup olive oil
Instructions
-
Step 1
For the classic roast: Pat the tri tip dry with paper towels. In a small bowl, combine garlic salt, Lawry’s seasoning salt, kosher salt, black pepper, sugar, garlic powder, and parsley. Rub the seasoning mixture evenly over the entire surface of the tri tip. -
Step 2
For the marinated grilled version: In a separate bowl, whisk together olive oil, 1 tablespoon garlic powder, 1 teaspoon dried parsley, 1 teaspoon kosher salt, and 1/2 teaspoon black pepper. Place the tri tip in a resealable bag and pour the marinade over it. Marinate for at least 30 minutes, or up to 4 hours in the refrigerator. -
Step 3
Preheat your oven to 400°F (200°C) for the classic roast. -
Step 4
Sear the classic roast: Heat a tablespoon of olive oil in an oven-safe skillet over medium-high heat. Sear the tri tip on all sides until browned, about 2-3 minutes per side. -
Step 5
Roast the classic tri tip: Transfer the skillet to the preheated oven. Roast for 20-25 minutes for medium-rare, or until an instant-read thermometer inserted into the thickest part registers 130-135°F (54-57°C). -
Step 6
Grill the marinated tri tip: Preheat your grill to medium-high heat. Remove the tri tip from the marinade and discard the excess marinade. Grill the tri tip for 10-15 minutes per side, or until it reaches an internal temperature of 130-135°F (54-57°C) for medium-rare. -
Step 7
Rest both roasts: Once cooked, remove both tri tip roasts from the heat and let them rest for at least 10-15 minutes before slicing against the grain.
Important Information
Nutrition Facts (Per Serving)
It is important to consider this information as approximate and not to use it as definitive health advice.
Allergy Information
Please check ingredients for potential allergens and consult a health professional if in doubt.